How To Repot A Plant In 5 Easy Steps
Contents
![]()
Repotting a plant isn’t just about changing the container from plastic to ceramic, it's about changing the environment around your plant’s root system from a desolate and infertile landscape to a lush and nutrient-rich soil that promotes even the saddest plants to grow.
How do you know when your plants need new soil or maybe a new environment?
- Has your plant suddenly stopped growing as much as it was previously? It might be time to change the container.
- Does the soil around your plant dry out quickly even with heavy watering? You may need new soil.
- Is your plant falling over? It might be time to get a larger container.
- Are the roots of your plants growing out of the drainage holes or gathering together so much that your plant is trying to up and leave the container? It’s time to get a larger container.
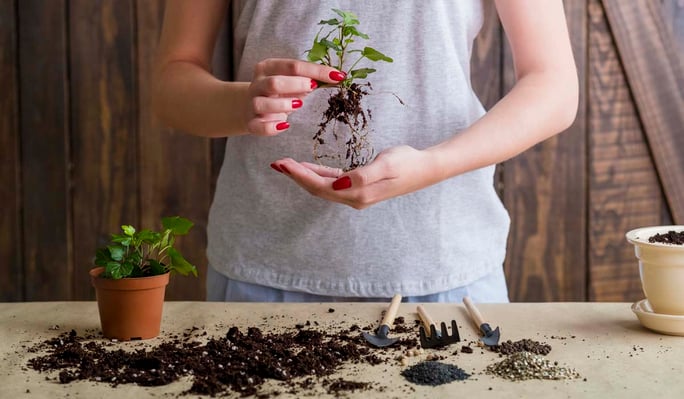
If you’ve answered yes to any of these questions, you’ll need to acquire some supplies to either re-home or replace the soil. Let’s go over your required supplies:
- The new container you’ll be using
- Your nutrient-packed soil (Organic is best! Be sure to look up the nutrient needs for your plant.)
- Gardening gloves
- A trowel or small shovel
- A small cutting device like a pair of scissors or sheers
- A large old towel, newspaper or plastic to use for quick clean up
- An empty container for the old soil
- Clean water
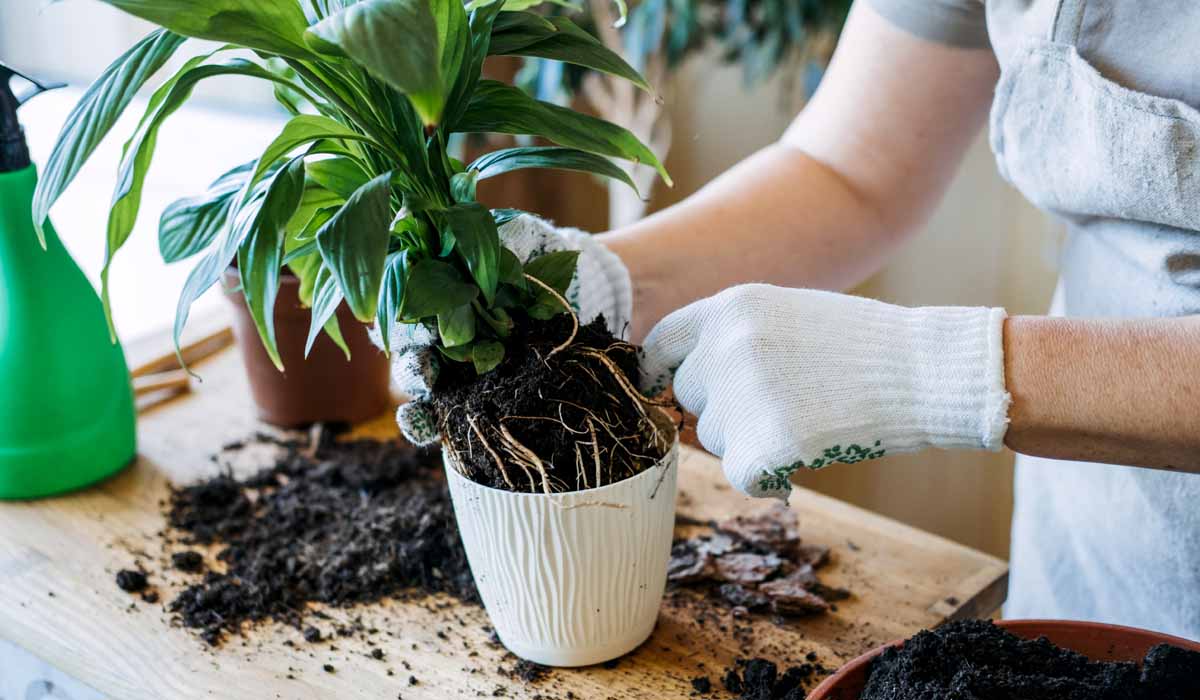
1. Remove the plant from its old container
This first step can be the most intimidating. With your large towel, newspaper or plastic under you, place your open hand on top of the soil of your plant, careful not to damage the plant itself, and flip the container into your open hand. With a good grip on your plant, pull the container off with your other hand. Don’t worry if you spill some of the loose soil.
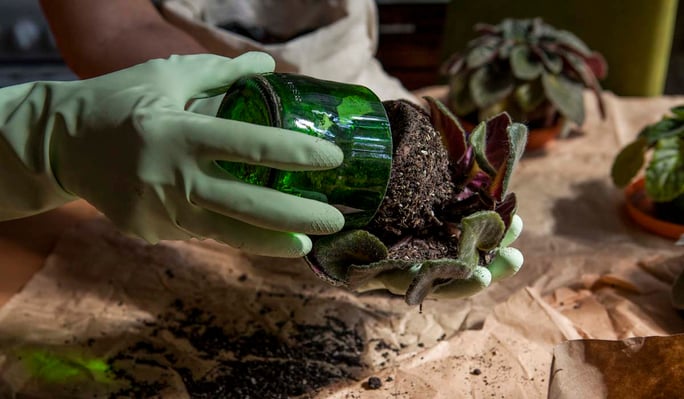
2. Carefully remove the old soil
Use your fingers to gently move the dirt and roots around, ensuring you take care not to damage the roots themselves. Let the soil fall into your empty container for the old soil. Now, with the old soil removed, you should be able to see your entire root system better. If you are spotting rotted roots or unhealthy spots, you can trim them off with your scissors or sheers. Removing these unhealthy spots now ensures the soil will help promote healthy root growth.
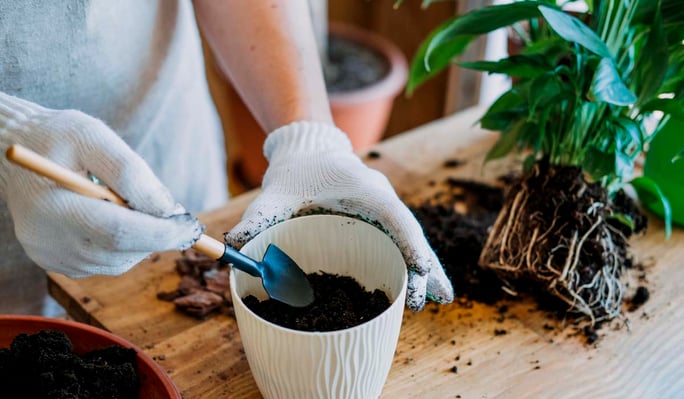
3. Prepare your new container
If you’re reusing a container, give it a quick clean with no harsh chemicals or cleaners. If your container does not have drainage holes in the bottom, make some now or place a nice layer of porous substrate to allow any extra water to pool in the bottom where it can be absorbed later. After this has been done, begin to line the bottom of your chosen container with the new soil. Your goal is to place enough soil to create a nice pillowy barrier between the bottom of the container and your roots.
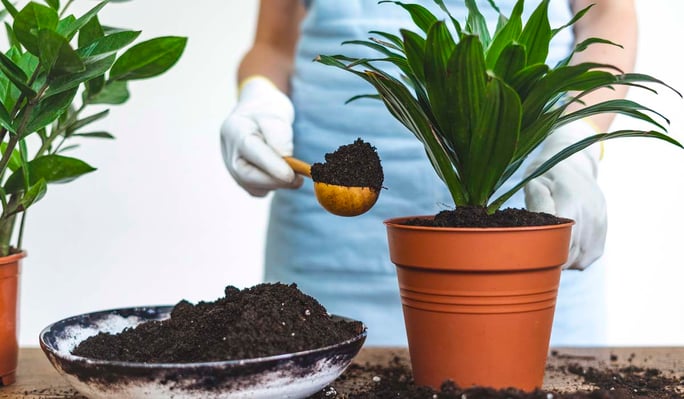
4. Place your plant
Using one hand to hold your plant steady and centered in the container, you’ll use your other hand to scoop in the new soil to start filling in around the sides of the plant until the plant is securely in place. Don’t pack the dirt too tight.
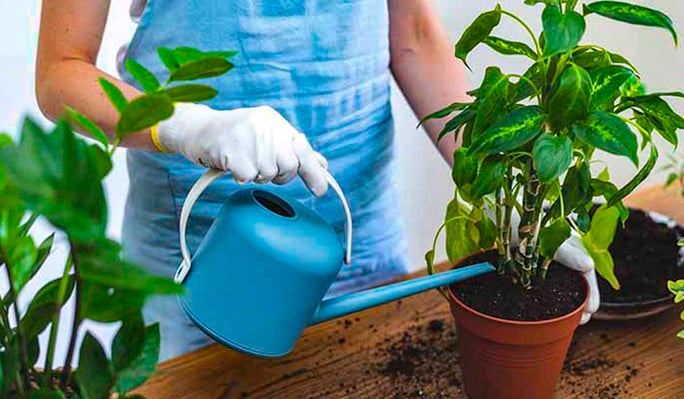
5. Water your plant
This last step is the best! Water your plant with your preferred method. You can use a watering can or let the plant absorb water through the drainage holes in the bottom. Observe just how much water your plant really needs right now to water accurately in the future.
Just like that, your plant has relocated to a new environment and will begin to thrive once again. Now it’s time to repot the rest of your collection!
Gardening Question?
Ask Our Experts and we'll get back to you!